Monday, October 27, 2014

PROJECT 3 SUBMISSION

Concept

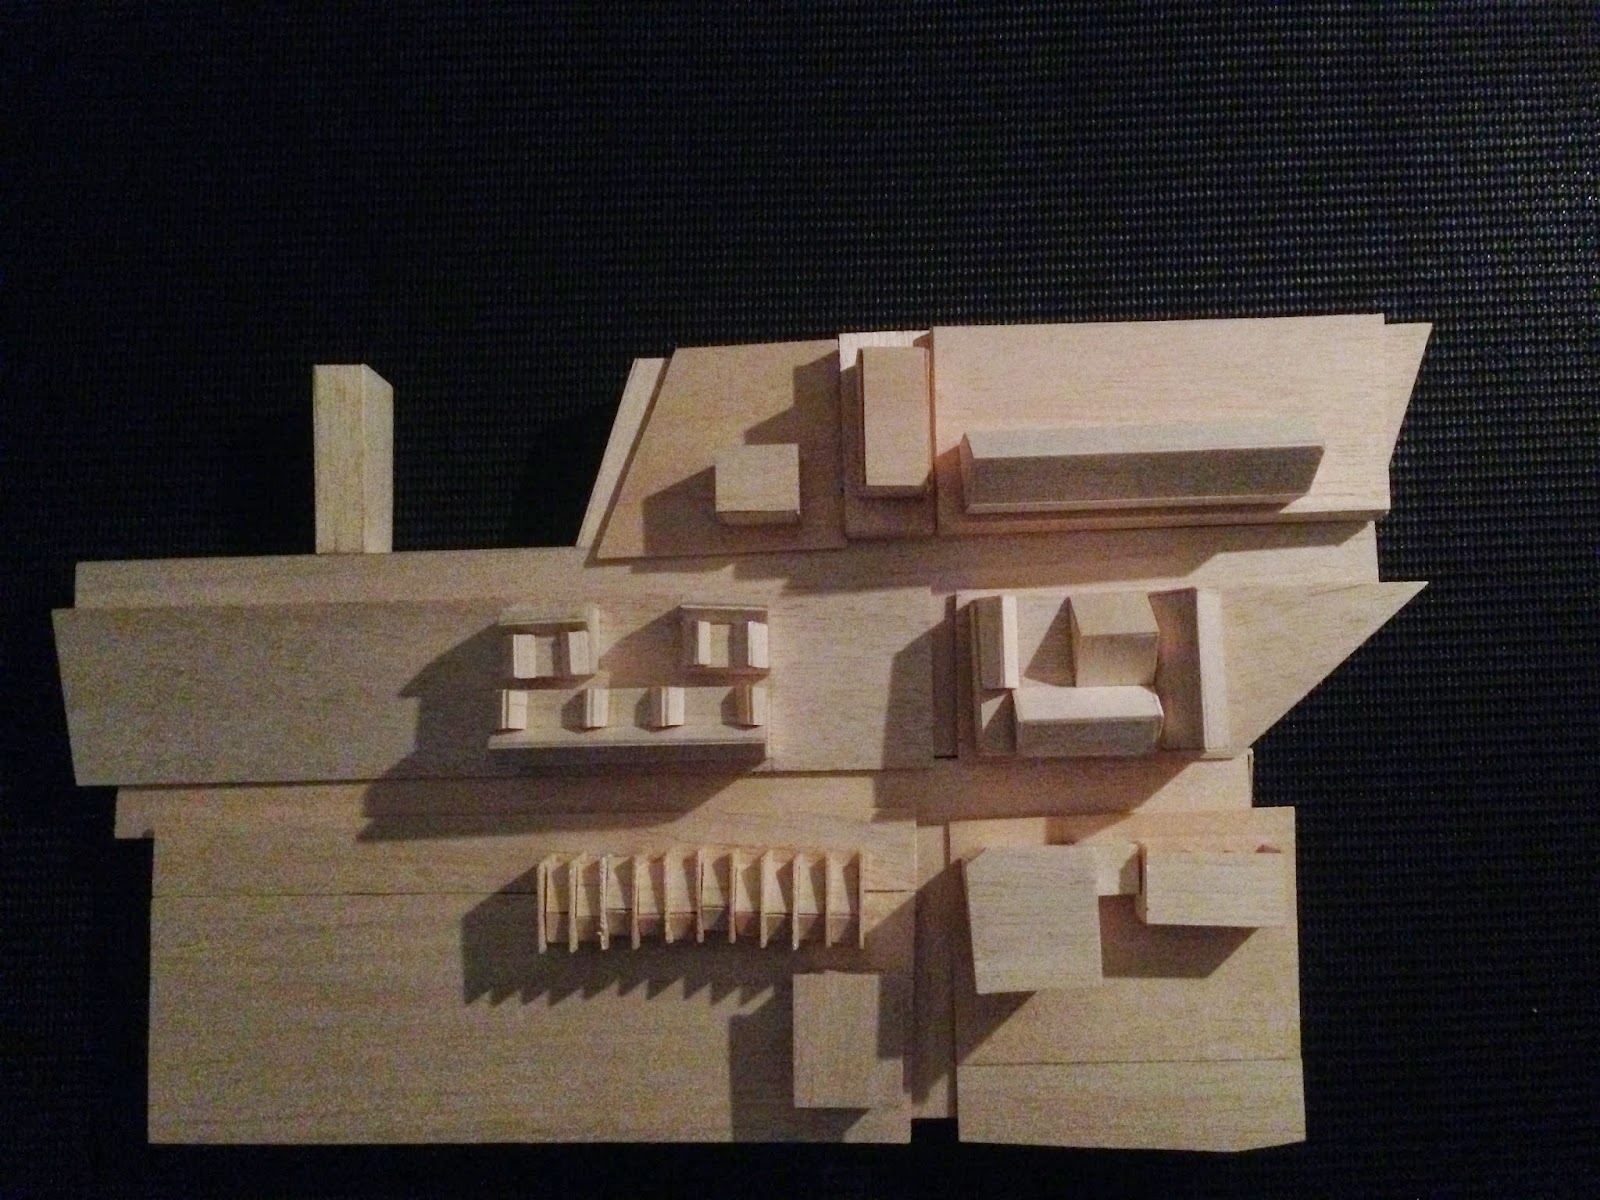
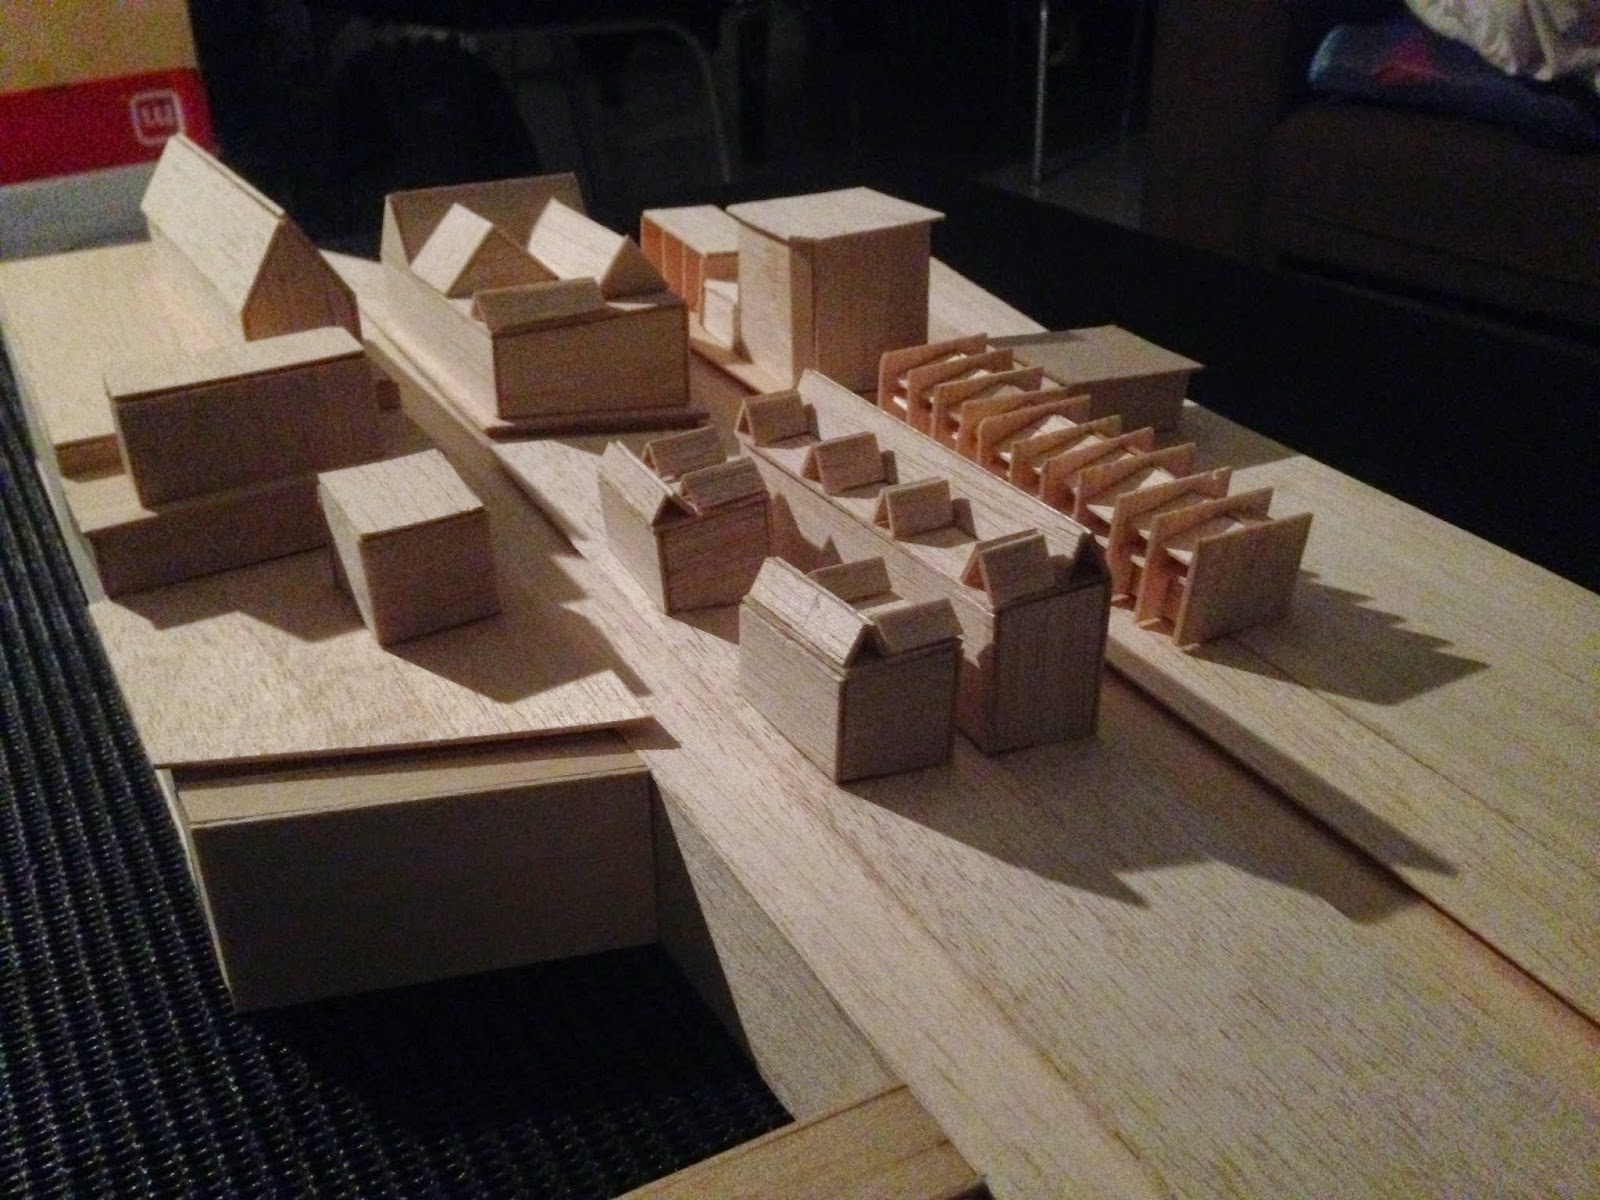
My scheme is mainly about focusing/ integrating one's eye vertically which finally will led into the sky by playing around with vertical elements and components of walls. This is to create a calm feeling as they look up into the blue sky, and the massive size of the building. The playing of elevation of the wall, also create a narrow path alongside the site of the buildings. People will continually walk across a small narrow path with a huge high wall arounds them, and what they can only look at, is the sky to calm them down.

The Gallery tower itself, is a 2 storey buildings which the facade is getting bigger each level. There are no windows around the facade, only a skylight on top of the roof which act as the main source of lighting. As soon as someone get into the tower gallery, they will feel the presence of the building due to the high wall and each elements that led their eyes vertically such as stairs, and a big hole on the second floor. 


Link towards my PDF file:

https://www.dropbox.com/s/2ct9phsakqfjzm7/PROJECT%203%20Presentations.pdf?dl=0

Tuesday, October 7, 2014

Dropbox link

https://www.dropbox.com/sh/gesnrbypw48lq4z/AAD3w-mnI37xYgHnTTSyZyh4a?dl=0

Here is my project 2 submission file. I included auto cad file because some of the part are missing in the pdf.

Thank you

Friday, September 5, 2014

PROJECT 1 SUBMISSION


LINK TO DROPBOX :
https://www.dropbox.com/sh/0caykl51mulegzo/AAChimn41MqYpI22wRNqIN59a?dl=0

Sunday, August 10, 2014

Saturday, August 9, 2014

ANALYSIS OF THE SITE

SHADOW CASTING USING SKETHCUP

HERE IS THE TUTORIAL OF DOING A SHADOW CASTING IN SKETCHUP. I HAVE PROVIDED BOTH WRITEN TUTORIAL AND A VIDEO TUTORIAL. 


Shadow casting on ShetchUp


1. This is what the basic box should look like.


2. You have to make sure that your model is in the right place on Earth, and that it is oriented the right direction. For that, in the menus you go to Window/Model Info and set the parameters. Note the orientation for my model is 270° to make north straight out the window (the orange line shows you North o the model).


3. Now you are ready to turn on the shadows. In the menus, go to View/Shadows and you should not only get a shadow rendered instantly, but also see the information panel.


Use this panel to set June 21, and in turn 9am, 12 noon, 3pm as shown.


4. Investigate the shadows. It's pretty simple, hey?


5. Now modify the model to have an overhang over the window.  In the model I have made, I have given the overhang a nominal 100mm thickness, so I can push and pull it using the 'Extrude' tool. Before you set up the key dates and times, the model should look like this:


6. Now reset the shadows for your first critical time and date. Remember: for 10am Daylight Saving, the solar time is 9am, and so on. From now on, I will talk in solar time.

Think about it. The 'depth' of the overhang will be determined by the 'smallest' VSA. That should be at noon for this date. But if you don't believe me, slide the time slider, and see when the overhang shadow is closest to the window.

So, use your extrude tool to push back the overhang until it just 'kisses' the bottom of the glass at noon.


7. Reset the time for 9am, and push the eastern side of the
overhang back until the shadow just kisses the eastern side of the window. Repeat for the western side at 3pm.


8. Note how far the overhang has to extend to the sides. And finally, check how much sun 'sneaks' into the window from the sides at other times. It's not a lot, is it?

VIDEO TUTORIAL

Model Inspiration

These are some images of architectural model mainly using balsa wood that inspires me in making the site model and the surrounding building.